Follow These Steps:
2. Select the Student Center tile:

Fig. 2 — The Student Center tile in CUNYfirst.
3. Select the Schedule Builder tile:
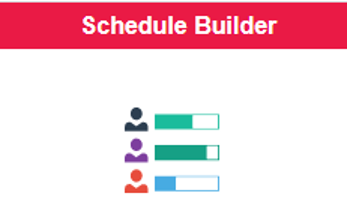
Fig. 3 — The Schedule Builder tile in CUNYfirst
4. Click on the semester you wish to enroll in:
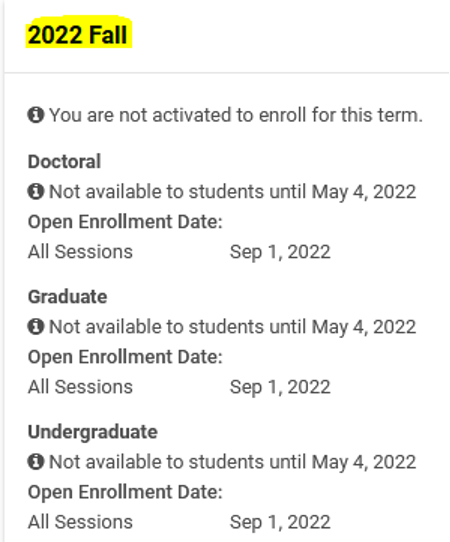
Fig. 4 — Example of a semester selected in Schedule Builder
5. On the left-hand side, in the “Select Course” box, enter the number of the course you want to add to your schedule:

Fig. 5 — The “Select Course” box
6. On the right-hand side, on the calendar, you can block out the times when you are unable to take courses, by clicking on the time and days:
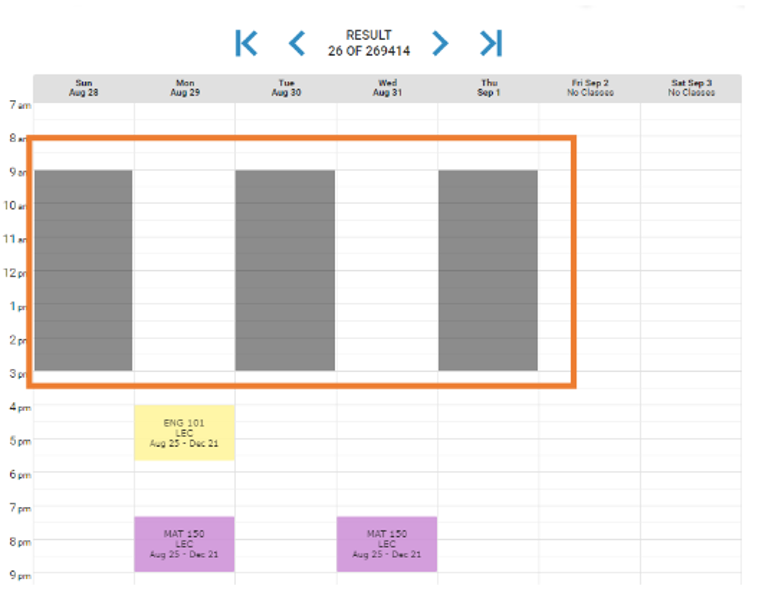
Fig. 6a — Calendar overview in Schedule Builder
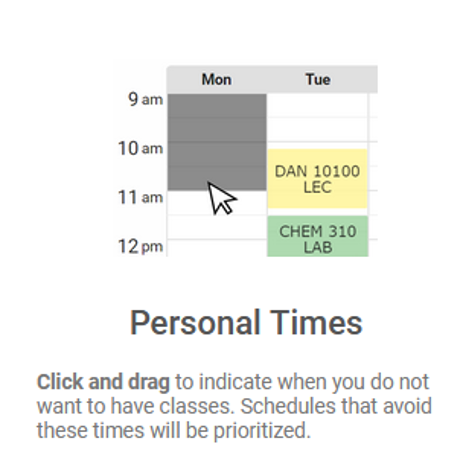
Fig. 6a — Calendar detail in Schedule Builder
7a. On the top-left side of Schedule Results, you can click “Class Details” to see specifics about the course(s) selected:

7b. Alternatively, you can click on “Sort by” and “Filters” to match your preferences:
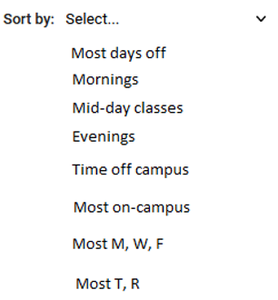
Fig. 7b — “Sorting” options under Schedule Results
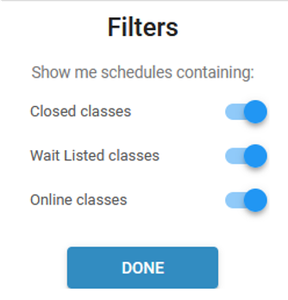
Fig. 7c — “Filter” options under Schedule Results
8. The available class schedule will be shown. If there is more than 1 schedule available you can use the arrows to see additional options (shown in orange box):
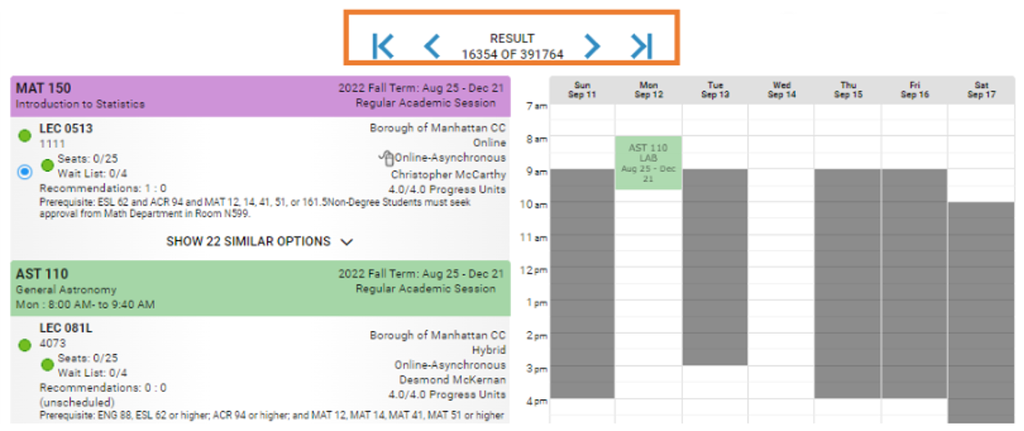
9. If you want to keep a specific class or section in your schedule, while looking for alternate options, you can pin it by clicking on it on the schedule (see the course with pushpins inside the lower orange box). You can use the arrows (shown in orange box at top) to adjust your other classes without losing the original class that you have pinned.

10. Click on “Get this Schedule” button to proceed:

11. Click on the “Do Actions” button to enroll:

12. You should receive a response of “Success” which indicates that you are officially enrolled, or waitlisted if the class is full.
