Steps to Follow
1) After logging into CUNYfirst, view your Student Center page, and select “Course Planning & Enrollment:
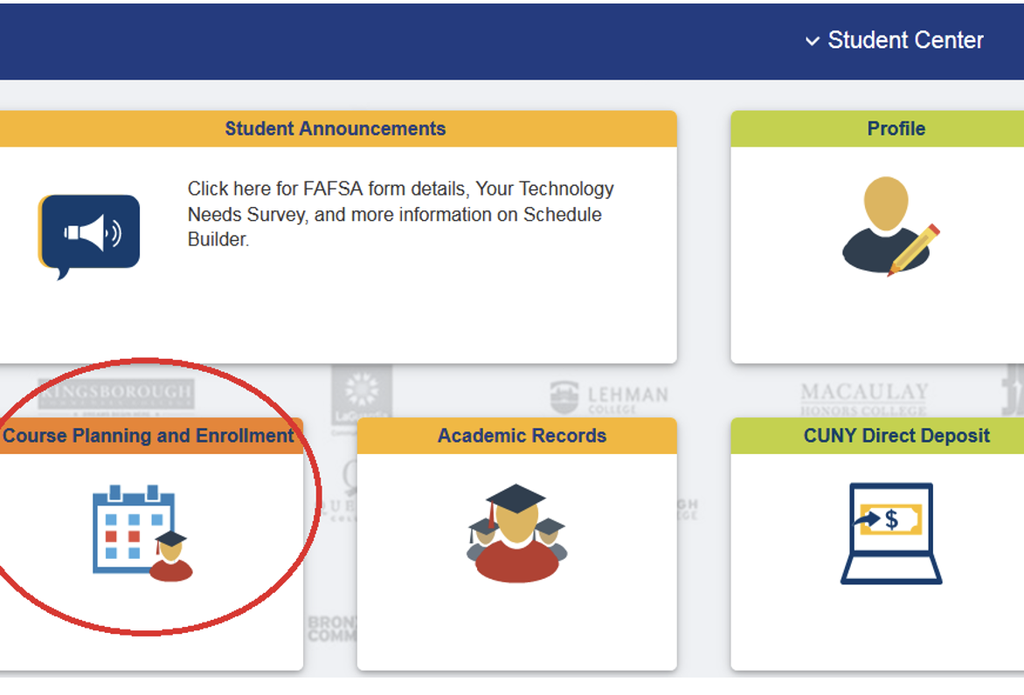
Fig. 1 — Course planning & Enrollment in the Student Center area of CUNYfirst.
2) Click on “Drop Classes.” This will take you to the Schedule Builder tab:
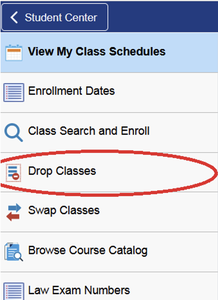
Fig. 2 — View My Class Schedules area in Schedule Builder
3) Select the term of the course you would like to drop:
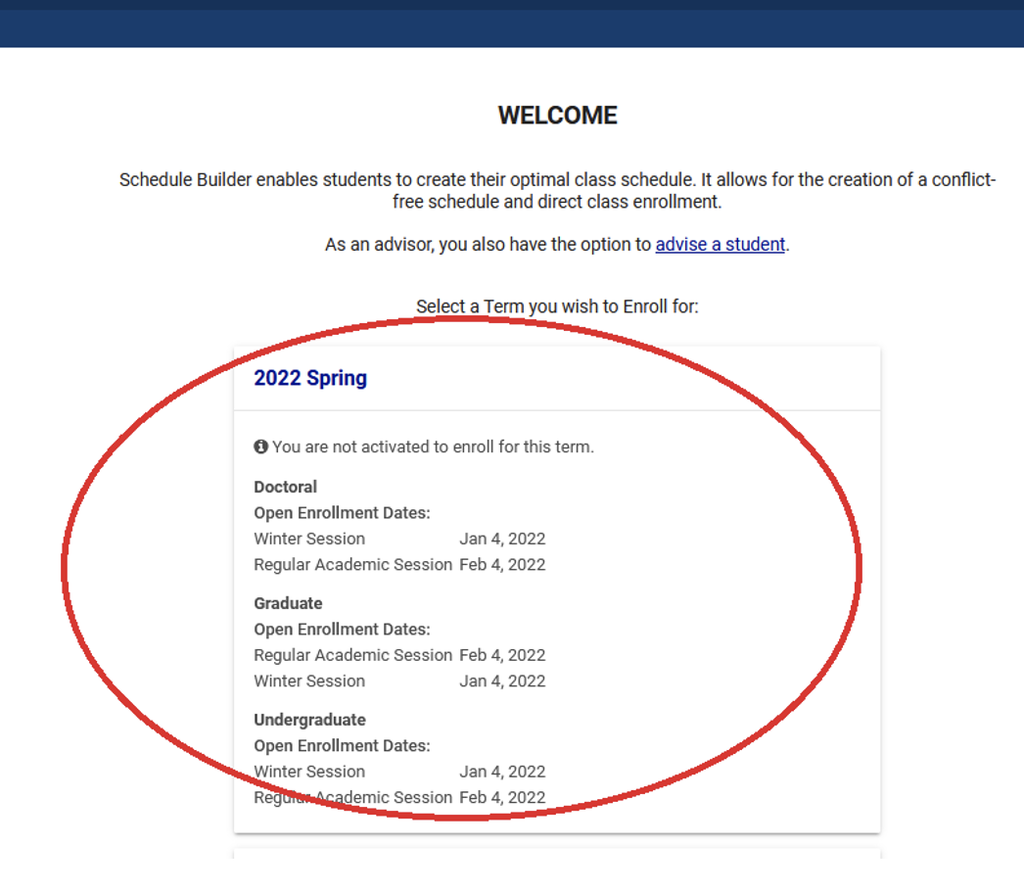
Fig. 3 — The Select a Term area in Schedule Builder
4) Click on the Trash Can symbol next to the course you are dropping. Then follow the steps provided on the screen:
→ ALERT: Please make sure you know the course number of the course you are dropping so you do not accidentally drop the wrong course!
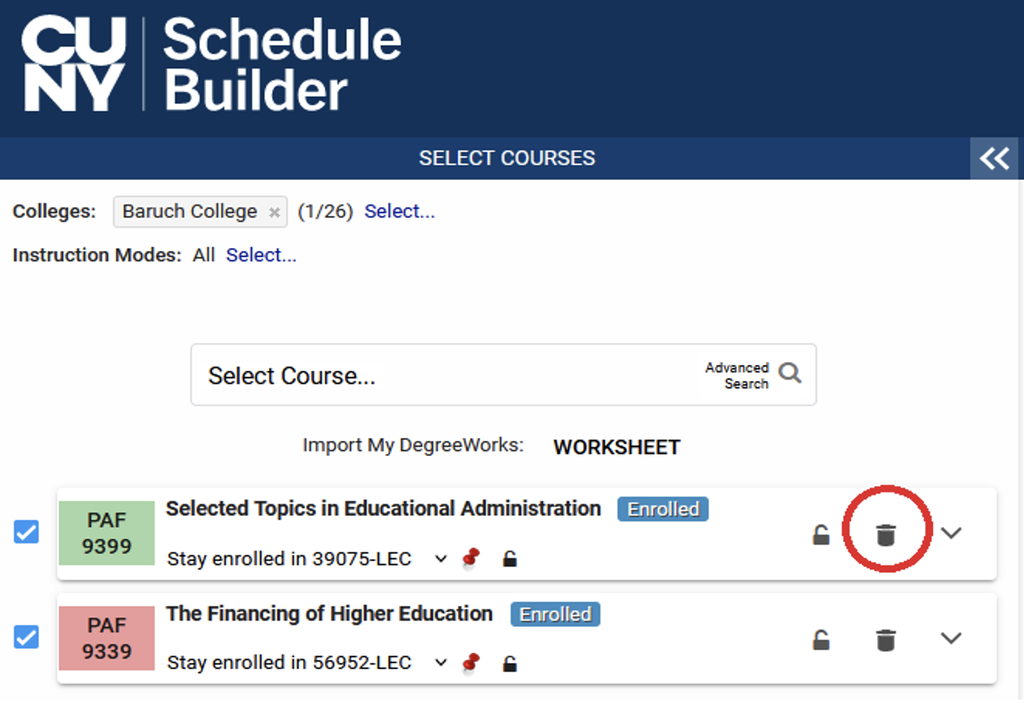
Fig. 4 — Deleting a course in Schedule Builder
5) Click on the “Get this Schedule” button. This shows how your schedule will appear once you alter it:
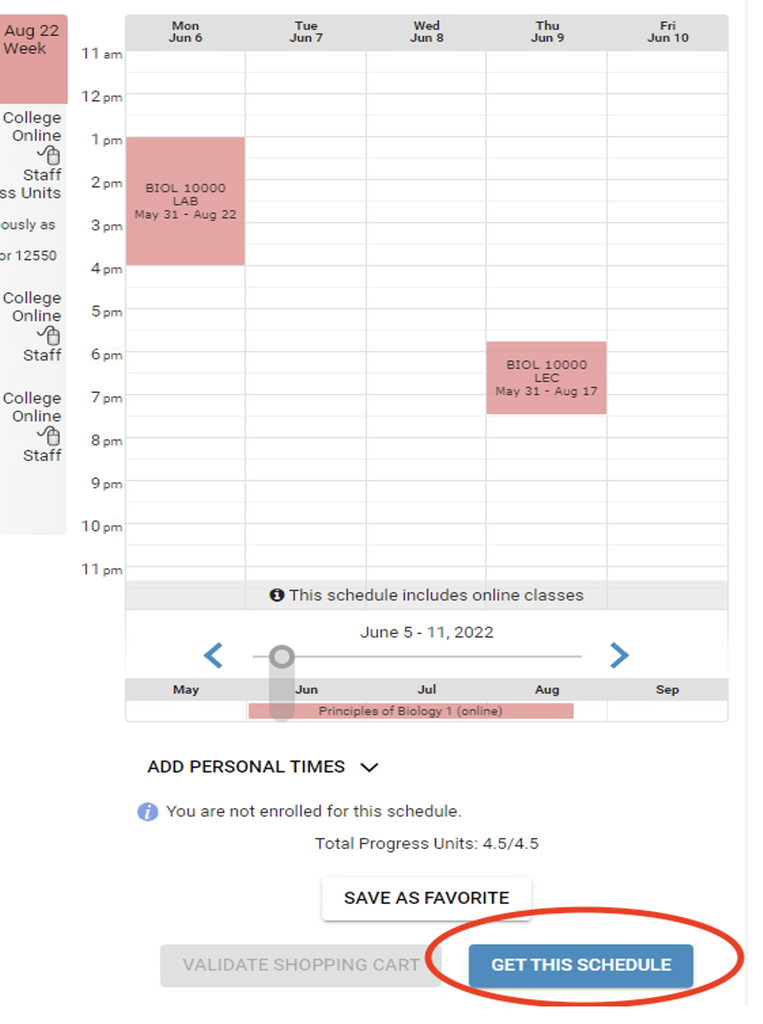
Fig. 5 — "Get this Schedule" button in Schedule Builder
Click on the “Do Actions” button. The course is now dropped.
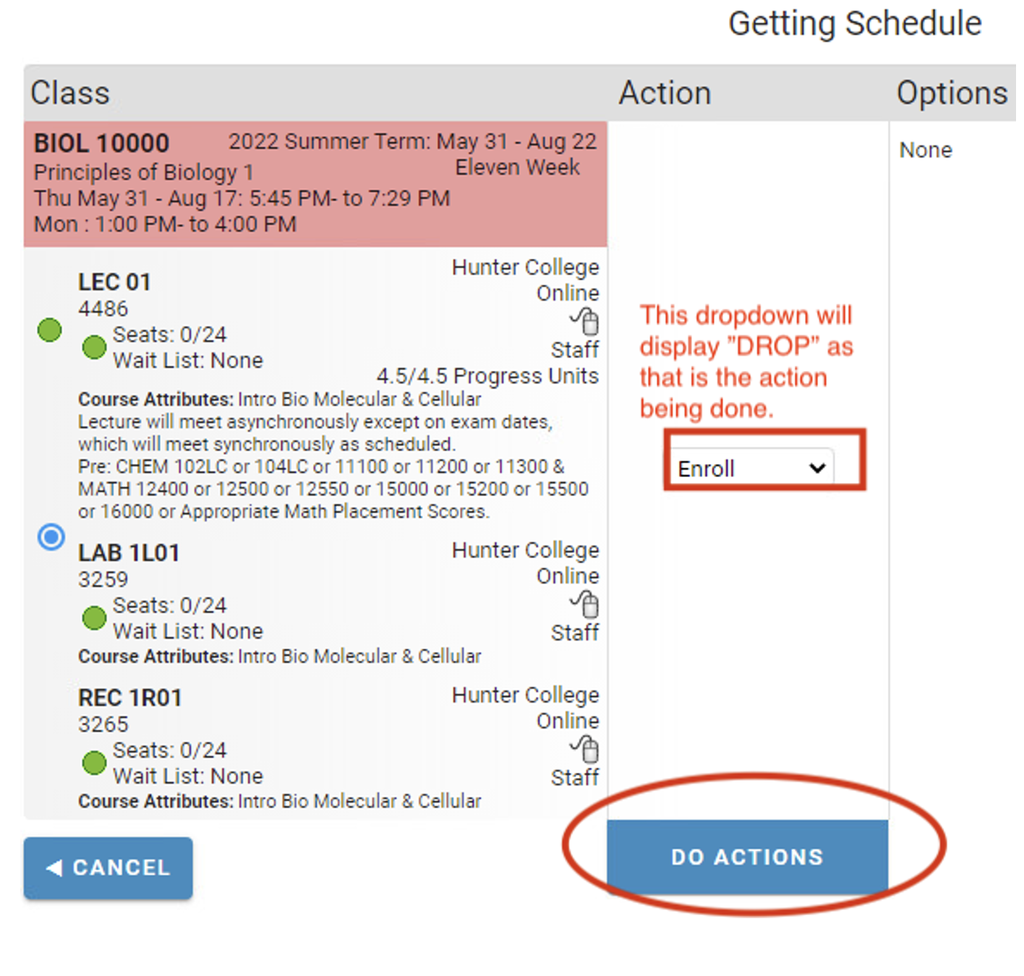
Fig. 6 — "Do Actions" button in Schedule Builder